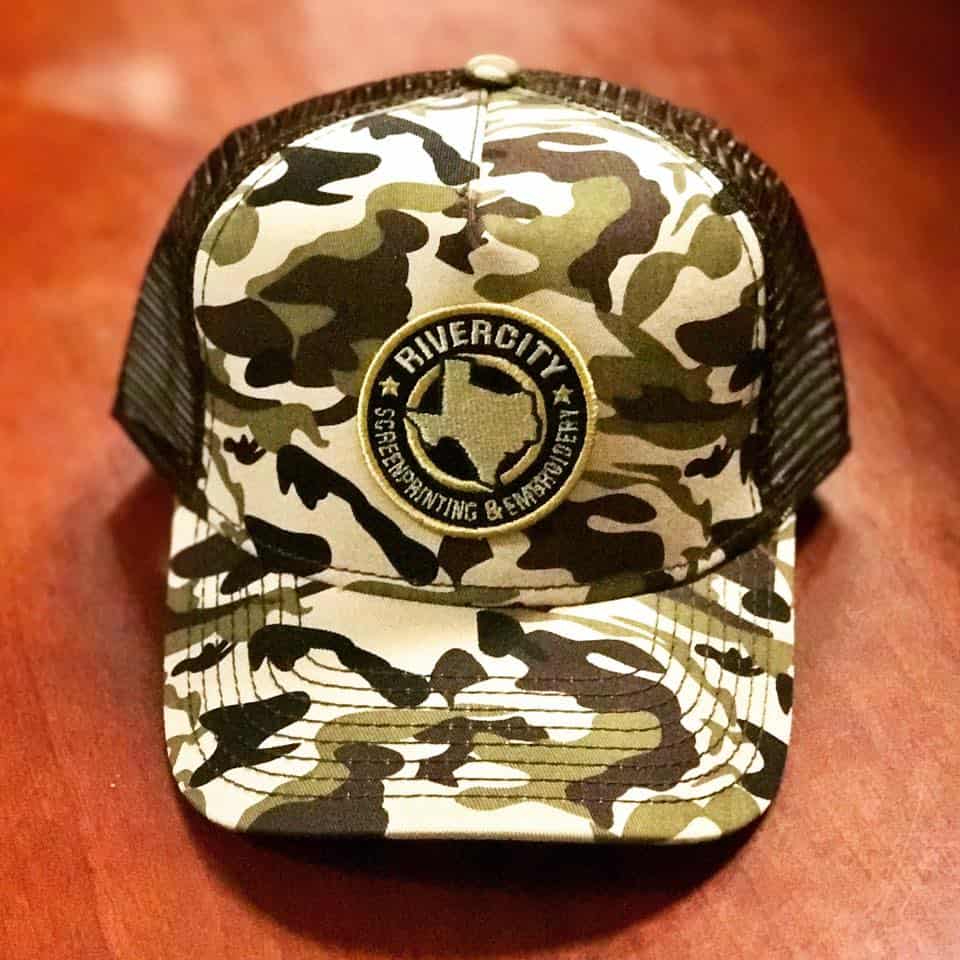
A well-embroidered cap has a substantial look and feel of quality. Choosing a design for embroidery is a unique process. It’s completely different than screen print design or printing other types of garments. When hat design is borrowed from other sources it can get lost in translation. When it’s done right, the results can be stunning. Follow these elements of great embroidery design to create a one-of-a-kind style for your hats.
Choose Your Type of Embroidery
There are two types of embroidery: flat embroidery and 3D puff embroidery. Flat embroidery is used when the thread is not built up on the fabric, and instead lies flat. This is generally preferred for more intricate designs and can be used for simple designs, too. 3D puff embroidery is embroidery that is raised from the fabric. This is best for simple designs or text with only one or two colors, and is commonly seen for sports logos. Understanding the way you want the embroidery to look can help determine the design of your hat.
Go for Simplicity
A simple, minimalist design is best for hats. Small, highly detailed designs can appear cluttered and the elements you want to feature can lose their focus. By sticking to the basics for the hat graphics, you can achieve nice clean lines and an image that pops. When working up the design, here are a few best practices to follow:
- Use bold designs
- Use thick lines (0.05″ to 0.5″ for flat embroidery, .2″ to 0.5″ for 3D puff embroidery)
- For 3D puff embroidery keep a space of at least 1/2 inch between multiple objects
Use a Basic Color Scheme
If you’re planning on using multiple colors, it’s important to keep it as simple as you can. There is a limit to the number of thread colors that can be used on a hat, usually it’s two colors for 3D puff embroidery, four colors for flat embroidery, or six for a combination of the two. The threads themselves are another reason to keep design lines nice and thick. If the design is too thin the embroidery can look “stringy” or thin and take away from the style of the hat.
Plan Your Placement
Most hat designs are balanced, meaning that they are aligned in the center of the hat with equal amounts of content (text or imagery) on either side. This is a good rule of thumb, but it’s not the only way to go. If you have a more artistic design or want the logo or text to be off to the side intentionally, that can also turn out well. Try sketching the design on a hat or ask the printer to provide a mock up to make sure that the placement is exactly where you envisioned it.
Digitize the Design
If you’re already working in a digital graphics editor like Photoshop then you’re off to a great start. Ask your printer what file format they need and make sure you export the graphics based on their specifications. If you’re designing by hand, you will need to digitize the design (make it into a computer graphic). You can do this yourself if you have the tools, or you can have the printer digitize it for you, usually for a small fee.
If you would like more information about creating designs to be embroidered on hats or other clothing, contact RiverCity Screenprinting & Embroidery at our San Marcos, TX or Austin, TX locations.

