Step 1: Set-Up
Fabric, Thread, and Supplies
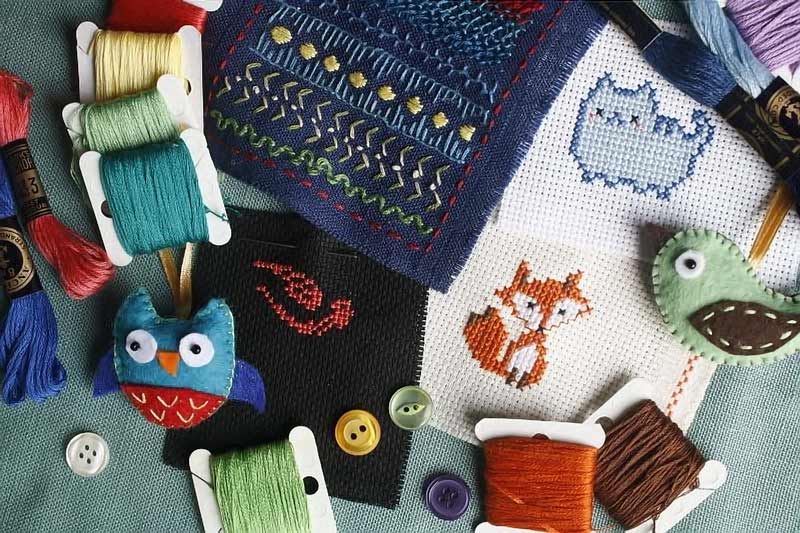
Below are all the materials required for embroidery by hand:
- Embroidery hoop (preferably more than one in different sizes)
- Embroidery needles
- Embroidery thread or “floss”
- A thimble (not technically necessary, but helpful in the long run)
- Small scissors
- Chalk pencils (regular pencils work, but graphic is harder to remove)
- Fabric
Step 2: Taming Your Thread
When you first start working with embroidery, start your thread at about 12-18” and work your way up as you become more comfortable managing the thread. Embroidery thread has a twist direction and you want to be sure that you are sewing with the twist. When you have your thread, tie a knot about an inch away from the end – or as many knots needed depending on thread size. When you begin sewing, you will need to keep your eye on the thread at all times, stopping at every bit of resistance as it is easier to untangle a knot if you catch it before you tighten it too much.
Step 3: Stitching
Backstitch
The backstitch is the workhorse, and if it is done properly it can look perfectly attractive as well. It gets this name because you are placing the needle against the direction of the stitching. You begin one stitch-length from the start of your line, and make one backwards stitch back to the starting point. You then bring the needle back through the look to the top one stitch-length further from the end of the first stitch. Then make a second backwards stitch to the end of the first stitch. Each stitch essentially forms a loop that is twice as long as the stitch on top, and the looping is what gives the stitch the ability to stretch. The stitch may look a bit messy underneath, especially if it uses curves, but that is okay because it is necessary in the long run.
This video shows a good example of how to perform a backstitch.
Stem Stitch
Stem stitch is basically the other side of the backstitch, but is a prettier fashion. It is vital to keep the thread on the same side of the needle as you do this stitch in order to keep the signature spiral look. On the top of the fabric, each new stitch overlaps the previous stitch by 50% and following it; the underneath stitches do not overlap. Stem stitch can accommodate curves, but you must be sure to keep the thread on the same side of the needle in order to not break the spiral. If you have a sharp point, break the stitch and begin a new one.
This video shows a good example of how to perform a stem stitch.
Satin Stitch
The satin stitch is the most luxurious, time-consuming, and thread-consuming stitch, and requires the most precision to pull off. A satin stitch is basically filling an area of fabric with thread by laying one stitch down immediately next to another. With this stitch, smooth edges look nicer than jagged edges. By starting new stitches on different areas, you will get a more patterned, wavy look. On the contrast, using the same stitch straight across will give it a flatter look. If you use this stitch to cover long areas, you stitching may start to gape away from your fabric. To solve this issue, use sewing thread to secure the floss, stitching on the inside of the floss rather than on top of it.
This video shows a good example of how to perform a satin stitch.
Combine
Embroidery can be relaxing and satisfying. There are many more stitches you can learn, but these 3 are great basics to start with. Try starting with a small project and work your way up to larger, more complex ones!
If you’re looking for embroidery or screen printing services in Austin, San Marcos, or the surrounding areas, contact RiverCity Screenprinting & Embroidery today for a free quote.

