Screen printing can be an awesome skill to learn to fuel creative needs or even promote a business. It can be daunting to learn how to start, but rewarding once you create the final product.
The first thing you need to do is more of a preparation : make sure your design is ready for screen printing. If this is your first try at screen printing, it’s best to start off with a relatively simple design without too many thin lines. The image used has a purpose of blocking the light to create a stencil-like effect, so stick to something solid black. Once the design is ready to go, use a laser printer to print the image onto transparency paper.
Step One: De-Greasing
For the first step you need to make sure your screen is clean by using a method called de-greasing. Some may skip this step if they believe the screen is clean enough, but it’s always best to de-grease just to make sure, even if the screen is new and unused.
To properly de-grease the screen:
- Wash the entire screen with water.
- Spray a de-greaser onto the screen (preferably one specifically for screen printing).
- Scrub the de-greaser into the entire frame.
- Rinse out all the de-greaser until there are no more bubbles.
- Let it dry thoroughly; make sure it is suspended in a way that air can move freely through the entire mesh.
Next, mix your emulsion and sensitizer by following the directions on the bottles. Pour the mixture onto the screen and spread it over the design area; most people use a squeegee for this part. It’s also recommended to use two coats of the emulsion mixture. After covering as much as needed on the screen evenly, the next phase is the drying process.
Step Two: Drying
To dry your screen, start by making sure it is shirt side down and the emulsion is horizontal in a dark room. Make sure to keep the drying room at a low humidity, preferably below 40 percent. After the drying is finished, preregistering your design can save you a lot of time. Creating marks to line the design up perfectly each time will make all of your prints consistent.
Step Three: Burning
Next, you can finally burn your screen. Make sure your film is facing the light when you put the screen and design shirt side down on the table. There should be weighted contact to push the screen and design together. Once adding a weight, expose the screen to a UV light. The time to leave it here is usually 10-15 minutes, but should be experimented with first.
Step Four: Cleaning
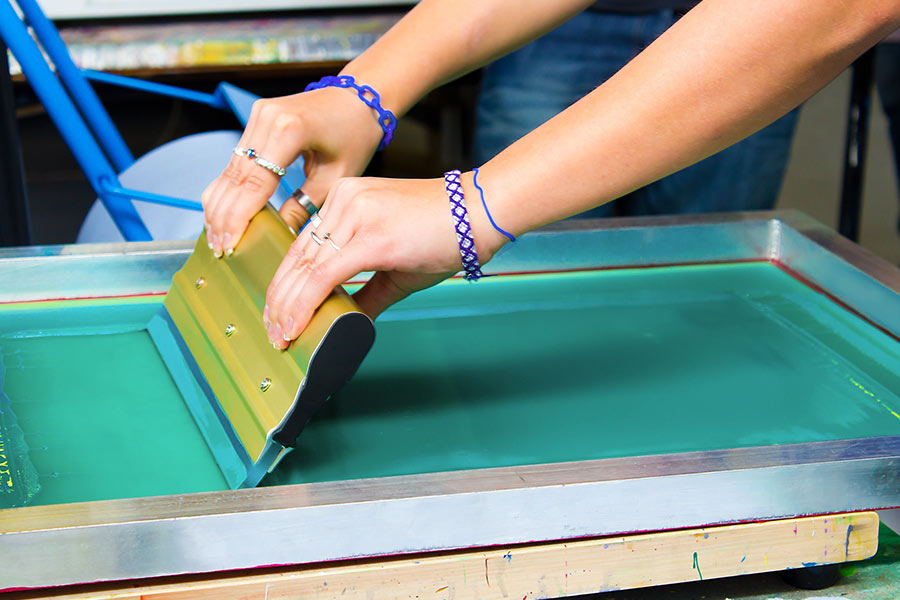
The last step starts off by cleaning the screen. You want to be able to see your design come through clearly, so keep cleaning until it is visible. Lastly, you must place cardboard inside the shirt, and lay the screen over the shirt. It’s recommended to pour a little bit of ink over the top of the screen and squeegee it down and around with pressure to force the design onto the shirt.
Your shirt should now be finished. Don’t forget to clean your screen for the next design.
More Tutorials from Your Austin Screen Printing Experts
Interested in learning more about the screen printing process? Be sure to check out our comparison between screen printing and other printing processes. Or if you’re interested in graphic design, you may find our tutorial on designing a logo for screen printing to be useful. As always, don’t hesitate to contact the experts at RiverCity Screenprinting & Embroidery if you need assistance with your next screen printing project!

