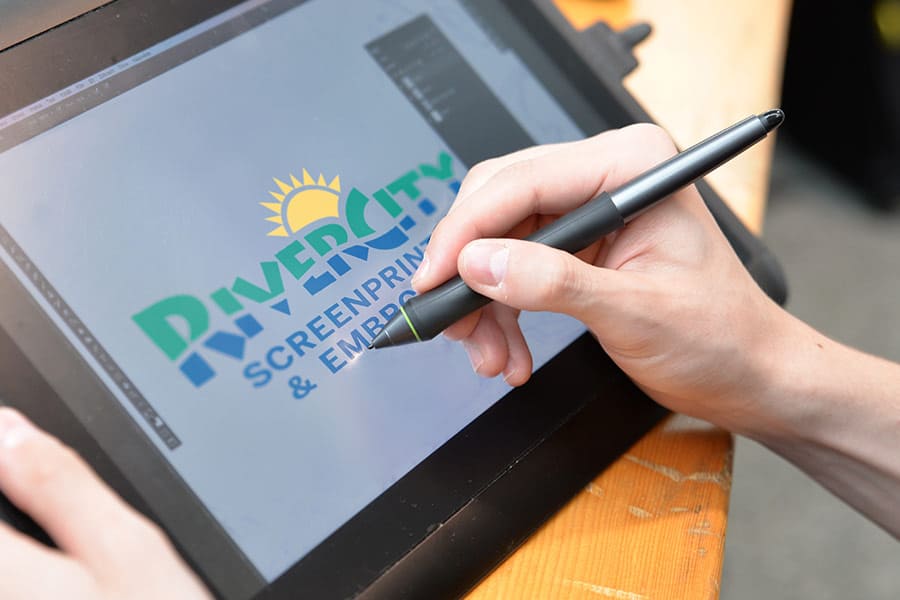
Whether you are marketing for a business, developing merchandise for a band, or personalizing a shirt for your own amusement, our goal is to ensure you end up with a product that you are proud to own or wear! The screen printing process has many steps, all dedicated to raising the quality of the final product. As you pick out and create a design for your screen printing project, there are a few aspects you want to pay close attention to in photoshop in order to ensure that your item or apparel comes out looking great!
Resolution
The resolution of the photo is super important and relative to the quality that you are going to end up with after screen printing. You want to be sure that the DPI (dots per inch), also known as PPI (pixels per inch) is set to 300. This can be specified before you begin your work under the resolution settings which is typically right under the height and width dimensions. If you are using an existing piece of art work or logo, you can select the “image” drop down menu, select “image size” and then confirm that the resolution is at 300. If the artwork you are working with is starting at a drastically lower DPI, then you won’t be able to get a high quality screen print by converting it to 300. If this is the case, you might want to recreate the image in photoshop from scratch so that you can develop the product you are hoping for!
Colors
If you are creating your own design, it can be tempting to over use a lot of different colors in the process. Consider what your end product is and spend some time looking at other businesses or individuals with similar products. You might notice that there are a few defining aspects to the products that look the best, and the use of color is a big one! Limiting the number of colors you use will likely increase the quality of your final result because, in screen printing, each color in your design is applied as its own screen with a new layer of ink. You should also consider the background of your design as well. Ideally, the space behind your logo is transparent, but this can also give you the opportunity to strategically use the color of the item (shirt, hat, etc) has a base color for the design.
Separation
When you are preparing your logo or design in photoshop, you will want to separate each color into its own layer in preparation for the screen printing process. This, in photoshop, is known as color separation. For instance, if you have an outline of an image or text that is different from the color of the actual image or text itself, you will separate that lining onto its own layer. This will also help you ensure that every part of your design is intentional and adds to your overall vision for your product.
Sizing
Before you submit your design for screen printing, you will want to be sure that the size you are sending is the actual size for the item it is being printed on. For instance, the size of a logo for a front shirt pocket design won’t be the same digital size to cover the back of the shirt (two popular design locations). You can view the print size of your design in the “image” drop down menu at the top of your screen. If you click “image size”, you will see the height and width dimensions. Odds are, it will have these dimensions in pixels, but you should be able to change that to inches with the drop down option. When you are adjusting the size, keep in mind that you always want to maintain your 300 DPI or PPI so that your design will look great regardless of the size!
Austin T Shirt Printing and Embroidery
If you’re in the need of screen printing and embroidery, RiverCity Screen printing is here to help with all your Austin T Shirt printing needs!

